


GRILLED LAMB SIRLOIN TACOS WITH CORN, PICKLED CHERRY PEPPERS & CHIPOTLE CREMA
Last weekend, a friend of mine, Molly Tavoletti, stopped by (who you may know from her drool-worthy Instagram!). In any case, we got to talking, drinking wine, and I whipped up a few of these lamb sirloin tacos for us to munch on during girl (and career and wine and life...) talk on that beautiful, sunny Brooklyn afternoon.
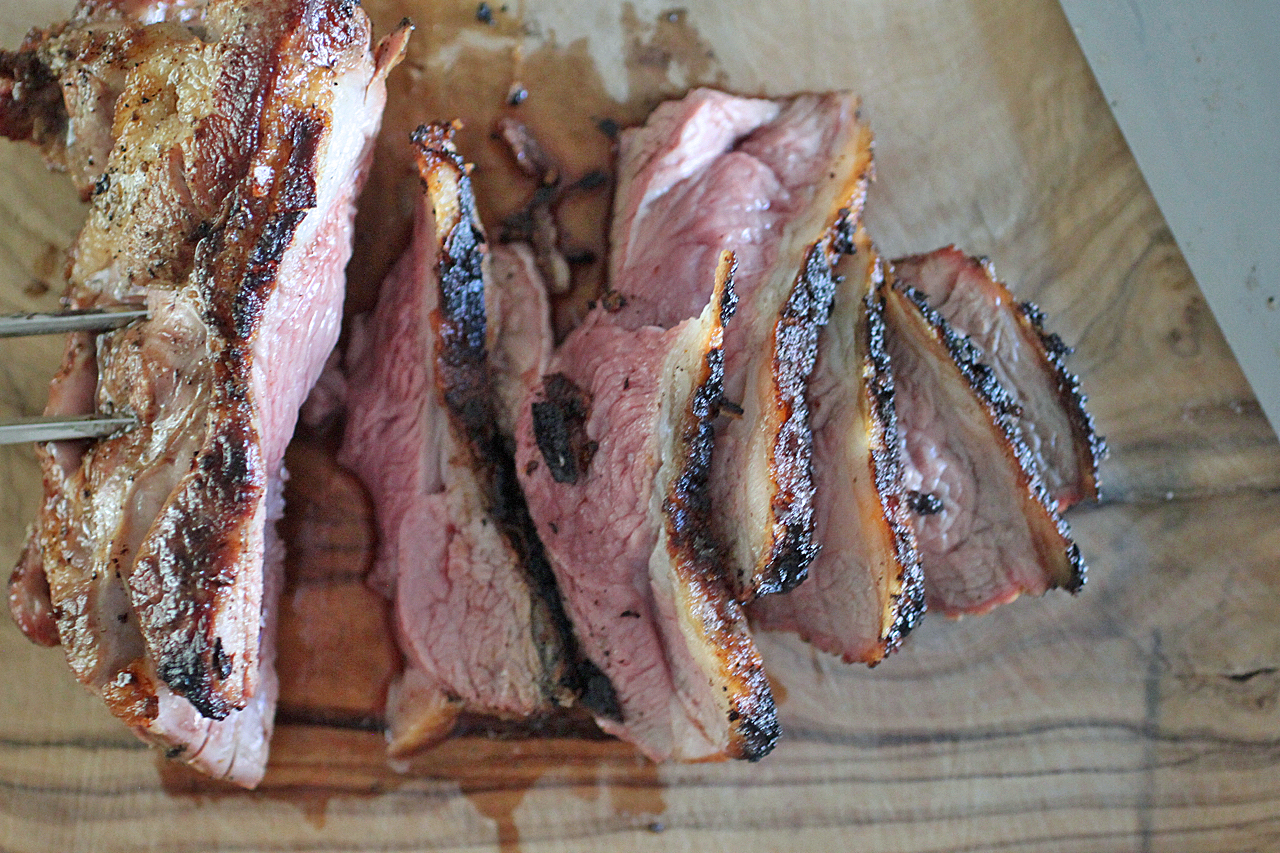
I know there aren't a ton of lamb sirloin recipes out there, but it really has become for me my new duck breast. It's meaty and rich with a gorgeous fat cap that crisps. On the grill, the smokiness adds such depth of flavor and, of course, that signature char.
When you bite into a taco, you want flavor AND texture. This one has grilled corn for sweetness, a bit of shredded red cabbage for crunch, homemade pickled cherry peppers for acidity and heat, and a lovely chipotle crema for tang, smokiness and silkiness.
Enjoy!
Ingredients
Serves 4 to 6
For the tacos:
Wood chips wrapped in foil (optional; I like to use applewood)
Canola Oil
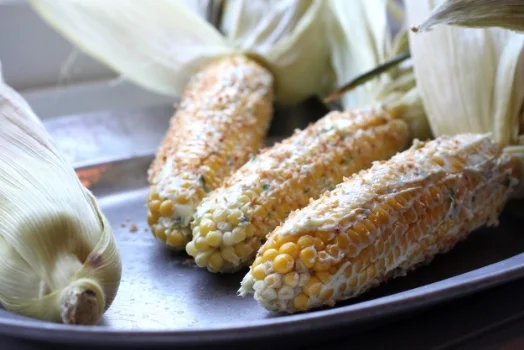
2 ears corn
Kosher salt & freshly ground black pepper
2 (8 oz) lamb sirloins
8 corn tortillas
½ cup shredded red cabbage
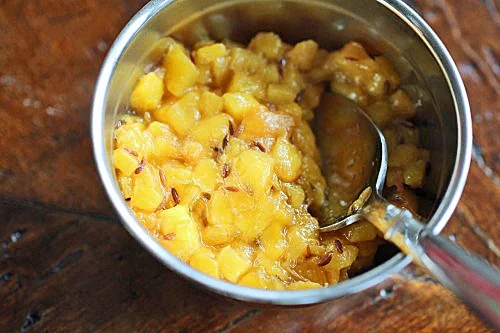
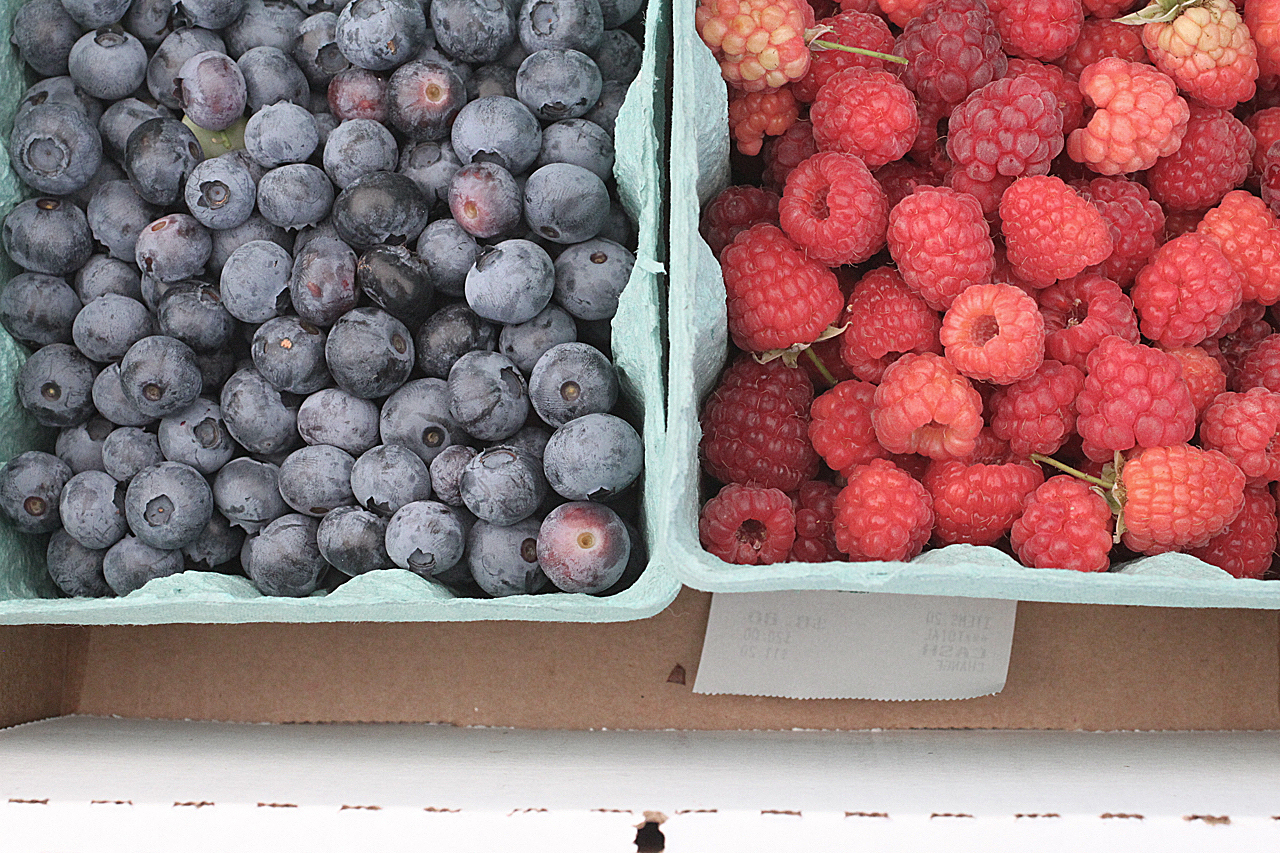
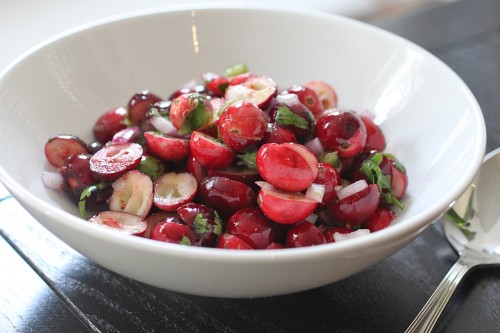
¼ cup pickled cherry peppers
¼ cup cilantro, leaves only
For the sauce (yields a bit more than a cup):
8 oz Mexican crema or crème fraiche
2 to 3 chipotles in adobo (canned)
1 garlic clove
Kosher salt to taste
Procedure
Preheat the grill to medium-high (400-450° F). Place the foil-wrapped wood chips on the grill, if using, making sure you’ve cut holes for the smoke to escape. Oil the grill well.
For the corn: I prefer roasting them in their husks in a 400° F oven for 25 to 30 minutes prior to grilling. This keeps them really tender and moist, and the husks and silk just slip right off. Then, I brush them with oil and season with salt and pepper before finishing them on the grill for 5 minutes, just to char the outside. You can also grill them from start to finish – after removing their husks and silk, 15 to 20 minutes in a closed grill, turning every 5 minutes or so. Cut corn from the cobs.
For the lamb: Coat with oil and season generously with salt and pepper. Place fat cap-side down on the grill and grill for 8 to 10 minutes, depending on the thickness of the piece, turning once midway through cooking. The internal temp should be around 130° F, but basically it should feel like the fleshy part of your palm for medium-rare. Cook longer if you prefer medium to well done lamb. Transfer the lamb to a cutting board and rest for 5 minutes under a foil tent. Slice thinly against the grain for the tacos.
Brush the corn tortillas lightly with oil and grill for 2 to 3 minutes flipping a few times just to warm through.
For the sauce: While the lamb is resting, to a food processor, add the crema or crème fraiche along with the chipotles in adobo and garlic. Process until smooth and adjust seasoning if necessary.
To assemble the tacos: Spread a bit of the crema in the middle of the tortilla. Pile on a slice or two lamb. Top with a spoonful or two of the grilled corn, shredded cabbage, a few pickled cherry peppers, and a few cilantro leaves.