SUPERBOWL SUNDAY ESSENTIALS
I love Superbowl Sunday, but, if I'm being honest, it has little to do with football! it’s an excuse to have a few friends over for a nice relaxed appetizer party, watch good commercials, and enjoy a little entertainment at halftime! Is that terrible? Anyway, I wanted to share what I'll be cooking this Sunday...Enjoy!
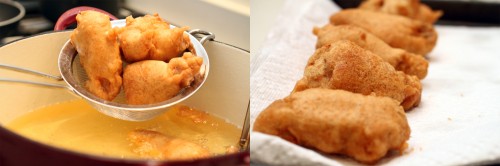
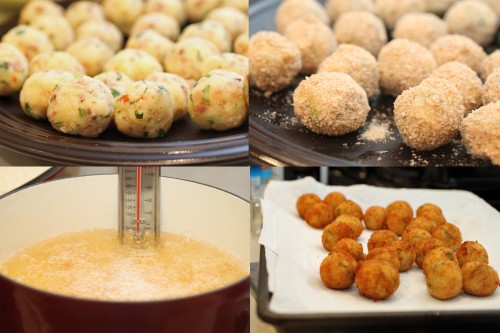
I know, deep-frying is kind of a pain, but if you have the oil out and are going to do wings anyway, you might as well get some bang for your buck. And these fried olives
are amazing!! Pitted olives filled with a bit of harissa-scented ricotta and cream cheese, rolled in panko and parm and fried to crunchy-creamy finish....my man complains that I make food that's too refined for a football party, but...then he eats these anyway!
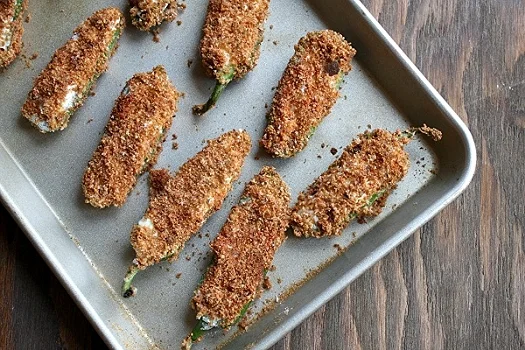
Photo: Recipe Girl
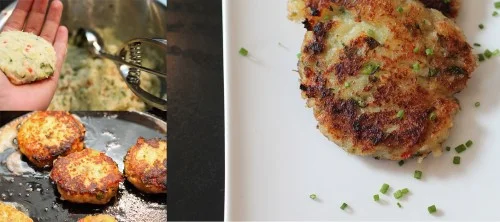
So if you don't want to fry, this is just the right snack, and who doesn't love jalapeño poppers? They've always been one of my favorite bar foods, but over the years I’ve learned to create my own and somewhat healthier version (baked, not fried, and super easy)! Slice the peppers in half, and take out the seeds and the ribs. In a bowl mix some shredded cheddar and Monterey jack cheese with Mexican oregano, granulated garlic, granulated onion, smoked paprika, chopped cilantro and a little cumin. Toss together and stuff in the pepper halves. Dip the halves in flour, then egg wash, then some panko; bake in 400 degree oven until tender or follow the recipe above.
Another recipe for the frying-averse: my baked Trini wontons. Think wonton skins filled with ground pork (or whatever meat you like) that have the best of Asian and West Indian flavors. Garlic, ginger, soy but also habanero, lime zest and cilantro. Seriously yummy and great to keep in your freezer for impromptu parties.
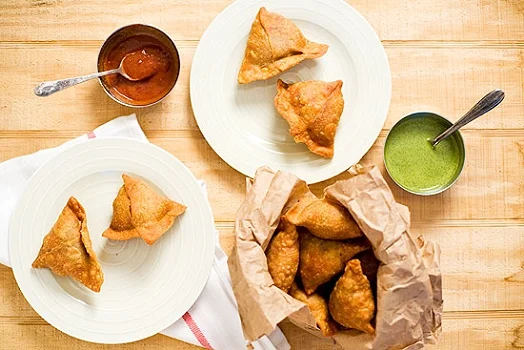
Photo: Rasa Malaysia
Vegetable samosas are the perfect vegetarian appetizers - little packets of crisp dough filled with cumin- and chili-scented potatoes. These require a bit of work but are so worth it!

Photo: Bon Appetit
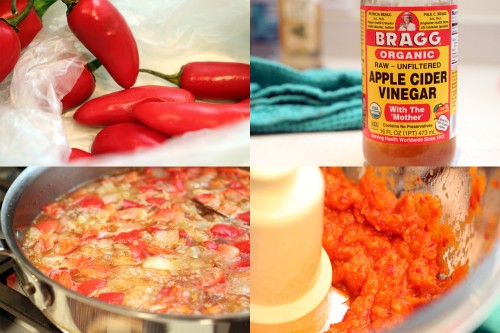
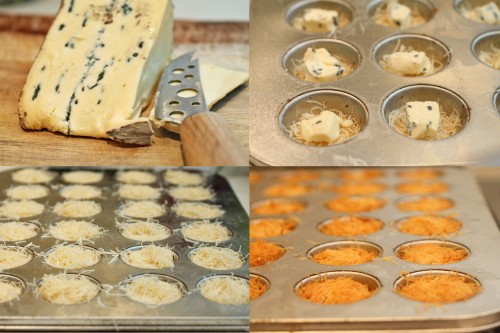
Nothing beats a a hot, melty, cheesy dip at a Superbowl party and this recipe gives you exactly that and then some! What is better than dipping your tortilla chip in a bowl of melted cheddar with tomatoes, chorizo and fresh cilantro? Yea....I can’t think of anything else either.
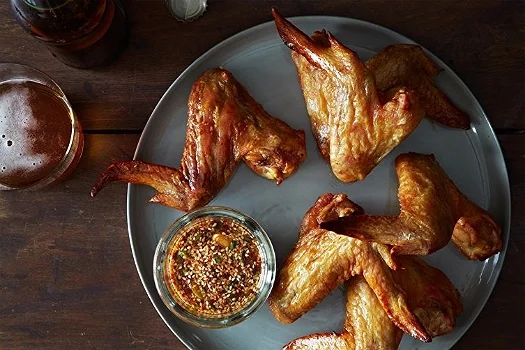
Photo: Food52
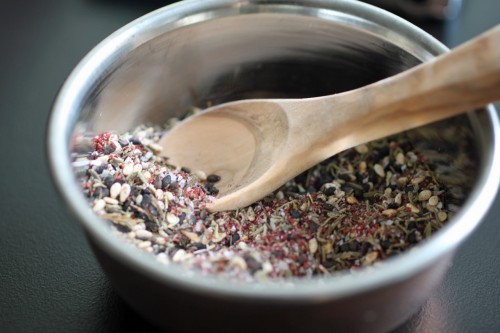
And, finally, the wings! Superbowl isn't Superbowl without wings, and though there's nothing wrong with the old-standby, hot wings, why not try something new? These are genius, oven-baked but with the crisp texture you love in a fried wing. The sauce comes together by stirring together a few ingredients in a bowl - tamari, rice vinegar, ginger, chili flakes, etc. It's seriously one of the easiest (and tastiest) wing recipes out there.
Have fun this weekend!